

 THE GIVEAWAY CONTINUES
Happy Tuesday, Quilters and Quilt-Lovers! I hope you have all had time to enter THE HUGE Giveaway–Including The Christmas Tree Quilt, Kona fabric by Robert Kaufman, Sulky thread and a copy of American Quilter magazine featuring “My Line…” Read yesterday’s post for all the details HERE.
CHRISTMAS COUNTDOWN: 9 DAYS
By now (I hope) much of the Christmas shopping is complete and all you have to do is cook and clean and decorate and…
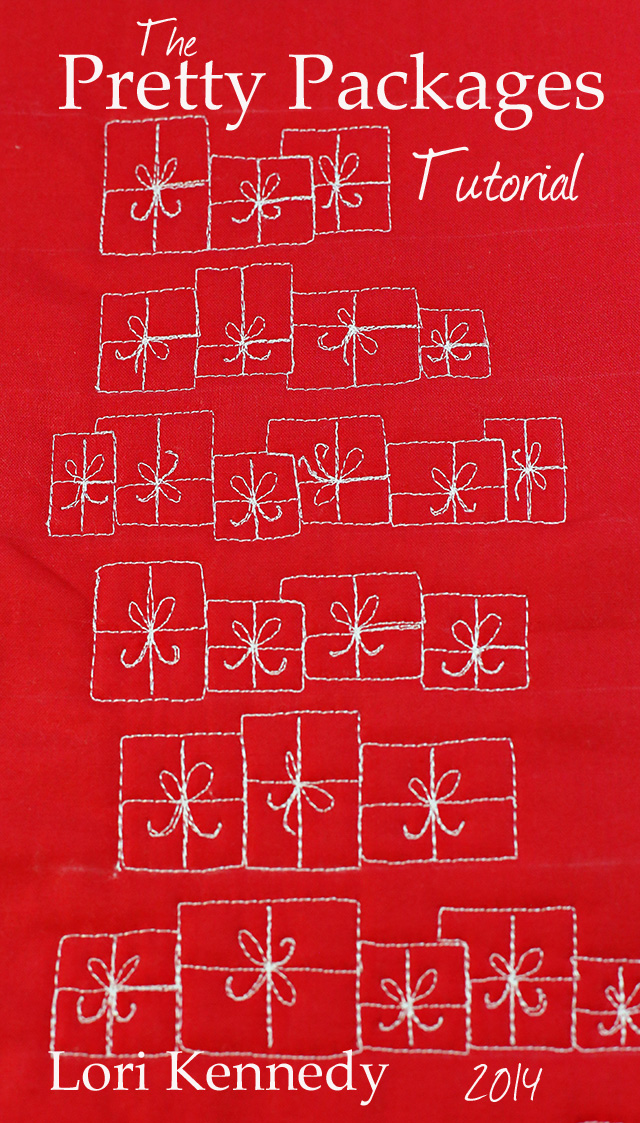
Wrap Packages! Pretty Packages!
Well let’s get started…
THE PRETTY PACKAGE FREE MOTION QUILT TUTORIAL
Begin by drawing two parallel lines or “rails” to keep the packages tidy.
In the tutorial below, the lines are two inches apart. Any spacing will work.
Begin stitching on the bottom line and stitch a square or rectangle. Stitch up the first side of the package to the middle. (Stitch right ON the previous line of stitching–it is offset here for demonstration purposes only.)
 Stitch horizontally into the center of the package and stop.
 Stitch vertically to the top line, then back to the bottom line, then back to the center.
 Stitch two loops on either side of the center line to create the bow.

Stich two curved lines to create the ties. Return to the center of the package.
 Stitch to the right side of the package and up to begin the next package.
 To create an overlap, stitch up the side of the box and across the top a short way.
 Then begin the next box.
 A row of packages would make a very pretty border…
Or stack the packages to fill a large area.
 Later this week we will re-visit an old quilt that includes a different package shape…
Lot’s more quilting in 2014!
From Santa’s Wrapping Workshop,
Your Happy Wrapper, (emphasis on the W–I’m too old for the other…)
Lori
PS…All tutorials, information and images are the property of Lori Kennedy at The Inbox Jaunt and are intended for personal use only. Feel free to re-blog, pin, or Tweet with attribution to The Inbox Jaunt. For all other purposes, please contact me at lckennedy@hotmail.com. Thanks!
29 comments
Rita Mistretta
I haven’t received an e mails lately. Will you still be sending any
Lori Kennedy
The email stream is still going. I am informed by the WordPress people that it is likely the recipients email accounts that are blocking the posts as Spam!
Judy
Think you mean 2015! Lots more quilting in 2015? Maybe not, maybe you are encouraging us to keep quilting this year. Thanks for the tutorial Lori!
Jsd
Love this site!!! Not sure where to post this. I have a baby boy quilt with Pooh & Tigger on it. Some of the blocks are plain fabric. Any suggestions what I could quilt in the plain fabric? The car or baseball tutorial doesn’t seem to be in the same theme. Thanks so much! Julie
Mary
Can’t wait to see the other surprises.
Deanna Jakel
Absolutely love the Christmas Tree Quilt and would love to win it.
Joanne
Lori, I enjoy reading your blog each morning -it is the only one I allow myself to sign up for. I can spend too much time on the Internet and feel it is not always time well spent. However, every morning I grab my coffee and iPad, open your email to check out your new post. I am hoping in the new year (my New Year’s resolution) I will add to my routine spending time on my sewing machine stitching out your tutorials.
Merry Christmas and thanks for sharing,
Joanne
Patty
Thank you for another GREAT quilting pattern! Love the ideas you share! Merry Chrismas!
Brenda Wiseman
Another great pattern. I love the Christmas patterns, and on this one, I like how the bows tend to go every which way occasionally. Reminds me of how I tie bows. I so envy those people who can turn out a perfect bow — time after time after time! Thank you.
Kathy Reilly
Thanks, Lori–a wonderful gift for you to offer
Chris
Lori are you joking all the shopping done you are so funny I’m still making cards this pattern will makes some cute cards oooh much love for a great christmas xx
Toni Kyler
I am new to your Blog and tutorials and I am really enjoying them! The packages are so cute! Merry Christmas!
Anne
Wow even mote inspiration that I believe I can do! Just lovin’ all your great ideas.
Merry Christmas, can’t wait to get upstairs and try this one out!!
MissQuilterB
Merry Christmas Lori. Thank you for sharing your beauty with us. The packages are so cute. I love every idea you post!
Marie
Wow, you continue to inspire me daily. Your ideas are always amazing, clever, and creative. Thank you
Pat
You are so creative. Thanks for the “gift”.
Terry
What a fun tutorial…thanks for sharing 🙂
Phyllis
Thank you Lori! You amaze me every morning!
Barb Zelhart
What a fun project for the season.
Cecilia
Very pretty! Thank you!
Terrie
“Tis the Season”, so excited to try this, l look forward to your posts each day. Love you inspiration and enthusiasm in sharing. Merry Christmas to you and yours.
Mary Ellen
Lori once again you have make FMQ look so easy just by following your step by step motions .After the New Year i am going too take the time to work on this every day. Thank you for everything you do.
Jacqui Van Meppelen-Scheppink
Awesome packages :-). I can add a row of those under my Christmas tree in the blank spaces. Thanks so much for your inspiration. Your methods and style so work for me!!
Ruth Briggs
I’m a new ‘follower’ and look forward, everyday, to see what you’ve come up with to share with your quilting friends. I particularly loved your poinsettia. I set down and made several items: hand towels, pot holders and table toppers. Sure would like to win the ‘giveaway’. Merry Christmas.
Ness
Cute Wapping …emphasis on the W…LOL! I will have to take a time out and try a few of these. 🙂
Comments are closed.