

Welcome to The Inbox Jaunt’s Tuesday Tutorials! Today we are stitching a very versatile motif, The Wind. I used The Wind in The Umbrella Quilts here. (The umbrella tutorials are available in the Quilt Tab above.) The Wind motif also makes a great filler stitch. Once you master this technique you will find many ways to use it and to modify it…
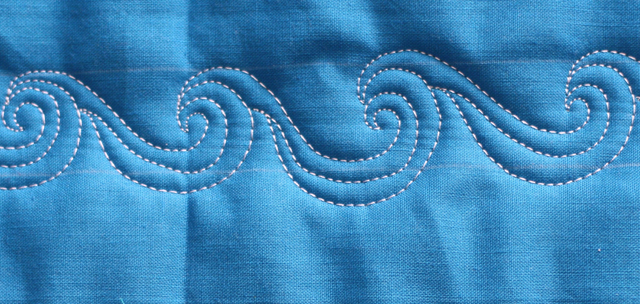
To stitch The Wind in a border, draw two lines to serve as guidelines or “rails”. Any width will work. In the sample below, the rails are 1 inch apart.
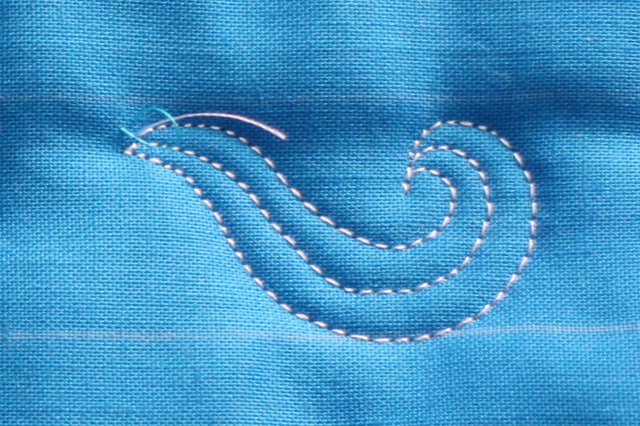
Begin stitching near the top rail and curve down slightly–stitch to just below the middle of your space and then spiral up and stop…
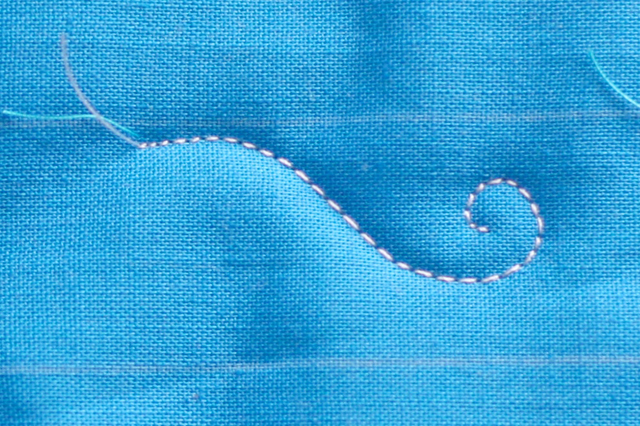
Stitch to the OUTSIDE of your spiral and echo quilt back to your starting point. I call this end “the tail”.
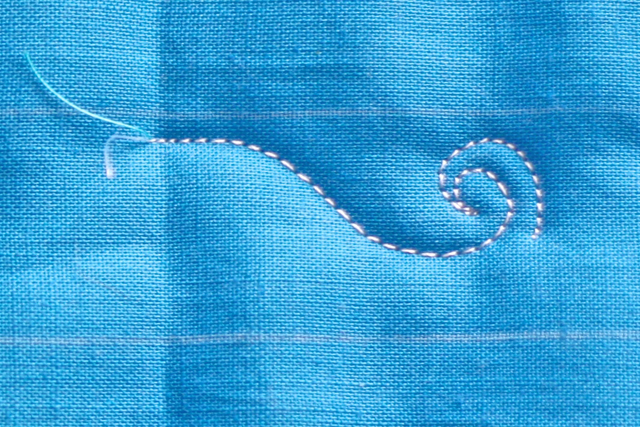
Now echo quilt — stitching toward your spiral. Complete your stitching just above your first spiral. Off-setting the stitches will prevent a build up of stitches in one point.
Now stitch nearly straight up to the top rail and begin your next wave stitch.
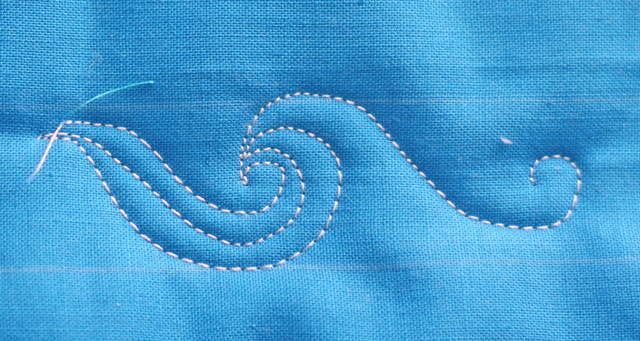
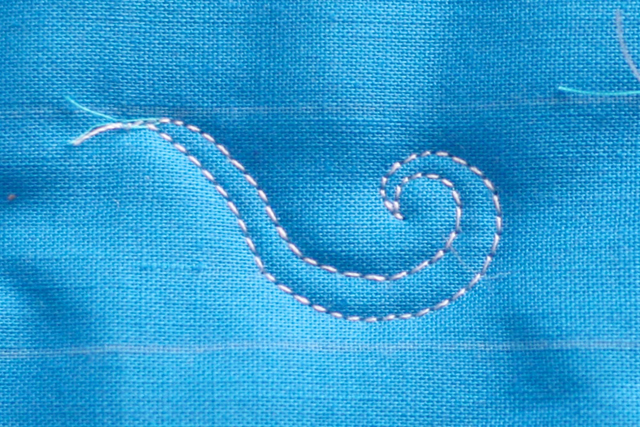
When you stitch the “tail” of the second Wind motif, “attach” it to the curved area of the previous motif. Again, this prevents a build up of stitches and avoids the “thready” look.

Complete the second wave and then roll on down the line…
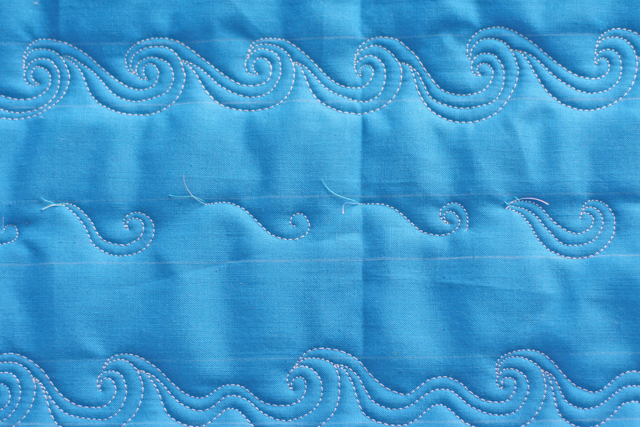
Once you get the hang of it, be more creative…add a double or a triple if it’s a very windy day across the plains…
This is a great border pattern–creating a scallop look, and it is also a fabulous fill pattern. (See The Umbrella Quilts linked above)

Later in the summer, we will work on several nautical-themed motifs and we will meet The Wind’s cousin, The Wave.
Tune in tomorrow– we will discuss the importance of contrast in design.