

 Good Morning, Quilters! It’s Tuesday…and I have a Sweet Treat for you–a little Ribbon Candy!
I know Ribbon Candy is traditionally a Christmas confection, but stitched in pink.. pretty at any time of the year! It makes a great border–quick, easy and fun!
(Ribbon Candy is much easier to stitch than it is to make–see this short video for inspiration and then we’ll get started!
THE RIBBON CANDY TUTORIAL
The Ribbon Candy Tutorial is really four motifs…
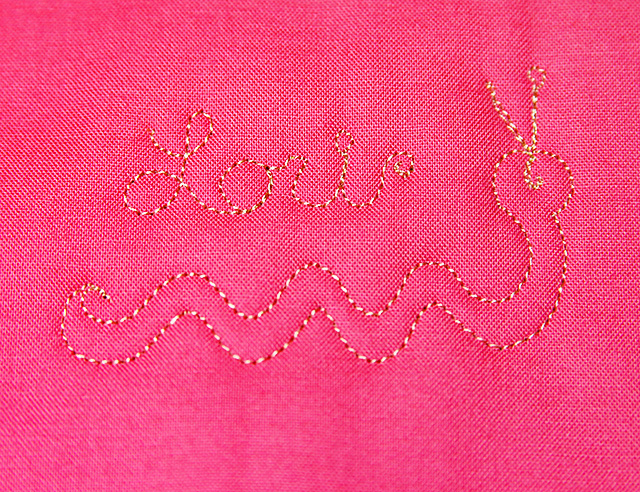
First, The Simple Wave:
A long, straight line is THE HARDEST THING to free motion quilt. Whenever you need a line–make it wavy…you’ll find it much easier to stitch…
 Like most patterns, The Simple Wave looks much better when it is echo-stitched….
 SIMPLE RIBBON CANDY:
Begin by drawing two lines. In the sample below, the lines are one inch apart. (NOTE-In the photo below-the lines were drawn for Deluxe Ribbon Candy–just pretend the lowest line is not there…oops!)
Begin stitch on the bottom line (see NOTE above). Stitch a wavy line to the top “rail”–or drawn line…then stitch back down to the bottom rail…

Continue stitching. The upside down wave is slightly narrower than the upward wave.

Just keep stitching…

Echo stitch back…this creates a very pretty border–Simple Ribbon Candy.

DELUXE RIBBON CANDY
For a sweeter quilting treat….
Draw three lines. Draw the bottom line…draw a line 1/2 inch above the bottom line….finally draw the top line one inch above the middle line….
Begin stitching on the middle line…
Stitch the upward wave just like before…The first row of stitching looks like this:
 Next, stitch a second row of stitching…
Begin stitching on the bottom rail. Stitch a very narrow upward wave, then a full-sized bottom wave… The second row of stitching looks like this:

When stitched together–It’s magic!–Deluxe Ribbon Candy! YUM!

Wouldn’t this look great in any quilt border?
 MORE TREATS
I really hope you enjoyed the Candy Shoppe today and Peggy’s Paperwork yesterday…(See the paper pieced purple flowers – yes, Allium—HERE
For another treat…Check out Susan’s blog, The Proficient Needle…She’s paper piecing The Hydrangea–and it looks great!
HAPPY STITCHING!
PS…All tutorials, images and information are the property of Lori Kennedy at The Inbox Jaunt and are intended for personal use only. Feel free to re-blog, Pin, tweet, shout, with attribution to The Inbox Jaunt. For all other purposes, please contact me at lckennedy@hotmail.com. Thank you!
19 comments
twemyss
Wow, that is definitely me! I love easy to try motifs so this weekend I will sit and do this one and report back, thank you so much, Tina (Auckland New Zealand)
WordPress.com Support
Can’t wait to hear how you like it on your quilt!
judykumler7
Wow, so much information and so little time. Just found this site. Been trying to quilt for a couple years. Took a few classes to get the basics. I love quilting and am excited to get started. Thanks for allowing me to join
Dianna
I love this for a border or sashing. I’ve never seen ribbon candy before so enjoyed the film clip. I don’t know if you can buy this is australia. I will have to keep an eye out for it.
Joan
A while back you mentioned doing a book. I hope that is in the works because I would be the first to purchase.
Fiona
These are great ideas… I have done wiggly lines often but never thought of echo or ribboning them….. so effective…
Hugz
adaisygarden
I love ribbon candy (even though it’s not good for my teeth!) and this tutorial is wonderful. Maybe even I can do it? … I’m definitely going to try! 🙂
Linda Swanekamp
Lori, thanks so much. You take humble lines and turn them into magnificent designs. I will be thrilled to use this in a border soon.
Susan
Ok – now I know what I am trying when I have some free time later. Thank you!!!
Susan
I did it! I really did it! Okay, it isn’t as nice as yours, but I bet after a huge quilt border of this I can make it much better!!! Thanks you! What should I do at the corners????
WordPress.com Support
I will stitch a little demo on thurs or friday
Susan
So kind – thank you!!
Lucie the Happy Quilter
Another super quilting design. Thanks for sharing Lori. You’re so talented.
Wendy
I love your blog. Your free motion designs are wonderful and your creativity continually amazes me(-:
Pat
Lori, I love your creativity. Who would have thought to use the ribbon candy to an inchworm! ….and I am always looking for quilting designs for small borders- this will be great.
Mary Grass
I love this ribbon candy pattern, Lori, and will be practicing it today! Thank you so much!
Ness
This is so cute…love this one. I actually tried this several times last fall and couldn’t quite pull it together where I was consistant enough to use it…that’s before I found you and learned about rails etc. to keep stuff organized and even ! So was excited this morning when I read ribbon candy on todays title! 🙂 BTW…your even stitches are so nice!!! Wowzer!
Comments are closed.