

 Good Morning, Quilters! It’s Tuesday…and I have a Sweet Treat for you–a little Ribbon Candy!
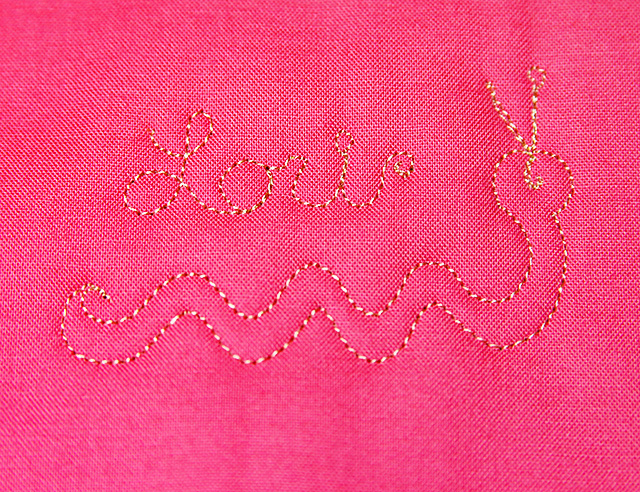
I know Ribbon Candy is traditionally a Christmas confection, but stitched in pink.. pretty at any time of the year! It makes a great border–quick, easy and fun!
(Ribbon Candy is much easier to stitch than it is to make–see this short video for inspiration and then we’ll get started!
THE RIBBON CANDY TUTORIAL
The Ribbon Candy Tutorial is really four motifs…
First, The Simple Wave:
A long, straight line is THE HARDEST THING to free motion quilt. Whenever you need a line–make it wavy…you’ll find it much easier to stitch…
 Like most patterns, The Simple Wave looks much better when it is echo-stitched….
 SIMPLE RIBBON CANDY:
Begin by drawing two lines. In the sample below, the lines are one inch apart. (NOTE-In the photo below-the lines were drawn for Deluxe Ribbon Candy–just pretend the lowest line is not there…oops!)
Begin stitch on the bottom line (see NOTE above). Stitch a wavy line to the top “rail”–or drawn line…then stitch back down to the bottom rail…

Continue stitching. The upside down wave is slightly narrower than the upward wave.

Just keep stitching…

Echo stitch back…this creates a very pretty border–Simple Ribbon Candy.

DELUXE RIBBON CANDY
For a sweeter quilting treat….
Draw three lines. Draw the bottom line…draw a line 1/2 inch above the bottom line….finally draw the top line one inch above the middle line….
Begin stitching on the middle line…
Stitch the upward wave just like before…The first row of stitching looks like this:
 Next, stitch a second row of stitching…
Begin stitching on the bottom rail. Stitch a very narrow upward wave, then a full-sized bottom wave… The second row of stitching looks like this:

When stitched together–It’s magic!–Deluxe Ribbon Candy! YUM!

Wouldn’t this look great in any quilt border?
 MORE TREATS
I really hope you enjoyed the Candy Shoppe today and Peggy’s Paperwork yesterday…(See the paper pieced purple flowers – yes, Allium—HERE
For another treat…Check out Susan’s blog, The Proficient Needle…She’s paper piecing The Hydrangea–and it looks great!
HAPPY STITCHING!
PS…All tutorials, images and information are the property of Lori Kennedy at The Inbox Jaunt and are intended for personal use only. Feel free to re-blog, Pin, tweet, shout, with attribution to The Inbox Jaunt. For all other purposes, please contact me at lckennedy@hotmail.com. Thank you!